Facebook is nearing 2 billion active users and as they approach this milestone we’re witnessing a shift in consumer behavior that Facebook has happily tapped into. For the past several years we’ve seen consumers engage with brands across social media platforms from Twitter for customer support to Reddit for AMA’s. Facebook’s role in consumer and brand communication has been a little dubious since they demolished organic newsfeed reach in exchange for the click-baity provocative content that consumes the organic reach once controlled by local media and small businesses.
However, recently I’ve noted a steady increase in the number of consumers inquiring about a product or service from our clients via Facebook’s messenger platform. Though most often coming from a visit to the page itself and then sending a message, some of the contacts have come from advertisements, recommendations, and other interactions. Messenger is also consistently one of the most downloaded and used apps on both iOS and Android. Now, Facebook users can quickly and easily message you on Facebook’s messenger right from your WordPress website with a simple WordPress plugin.
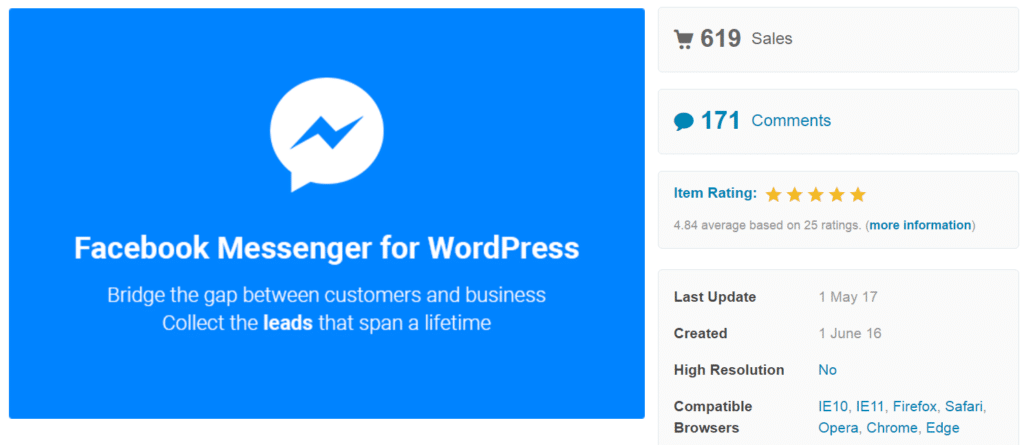
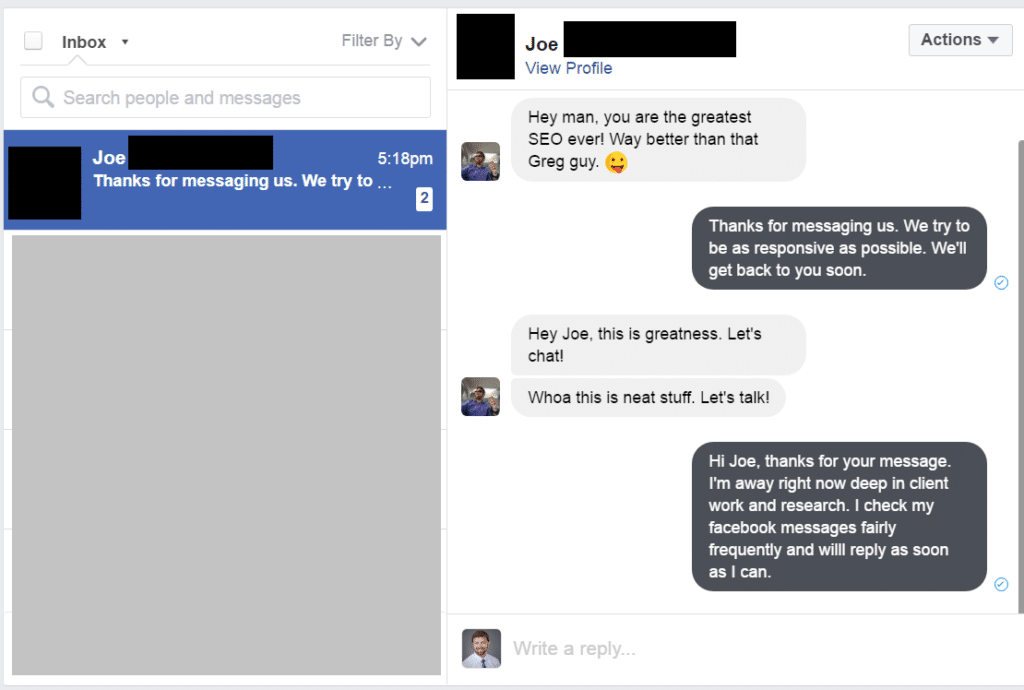
Here is what the Facebook Messenger on WordPress looks like
This guide will walk you through the installation and setup of the WordPress plugin required for this as well as cover some short-falls and provide recommendations for the installation.
1. Download the Plugin
The WordPress plugin you’ll need is called “Ninja Facebook Messenger”. You can download it on CodeCanyon (free for the month of May 2017). The plugin came out last summer and has been consistently updated and highly reviewed.
2. Prepare to Install the Plugin on your WordPress
To install the plugin you’ll first need to extract the plugin .zip file from the .zip file you downloaded. Open up the file you’ve downloaded from Code Canyon and extract the file “codecanyon-16392065-facebook-messenger-for-wordpress.zip” into the location where you’d like the file to be on your computer. (I usually create a new folder and put plugin .zip inside of that folder).
3. Install the Plugin on your WordPress
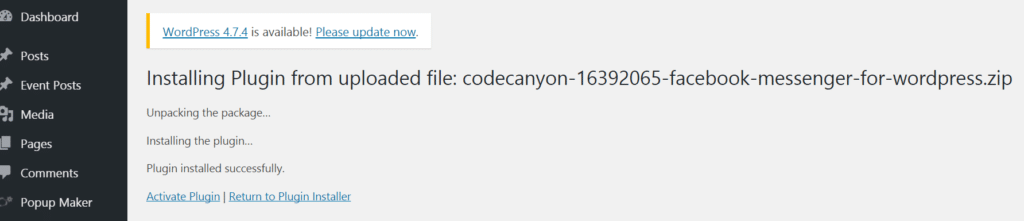
Now go to your WordPress dashboard (the default page when you login as Admin). Find the “Plugins menu option on the left-hand side and select it, then click on “Add new”. On this screen you’ll have the option of searching for a plugin or uploading one. Select the button that says “upload plugin” (usually found at the top of this screen). Finally select “choose file” and select the plugin .zip file you extracted in step #2 and upload it.
You should see a message similar to this one indicating that the upload and activation of the plugin was a success.
4. Find the Settings Page
Now that we have the plugin installed successfully you’ll want to set it up for usage on your site. You can find the settings in the left-hand nagigation under “Settings > Facebook Messenger” or you can go to your list of plugins and find the “Ninja Facebook Messenger” plugin.

5. Change the URL in the settings to your Fan Page URL
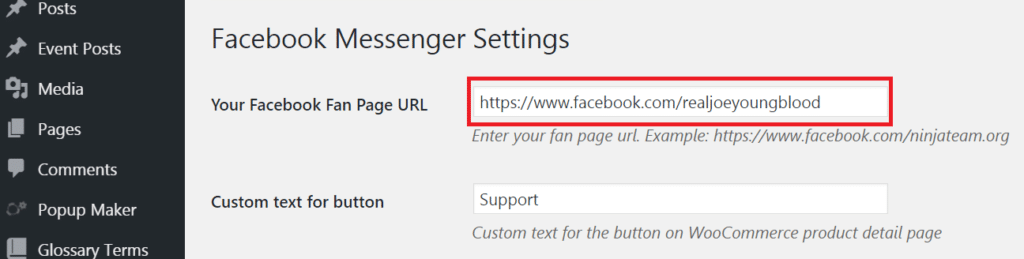
The plugin works by sending messages via Messenger to your “Fan Page”, it will not work with personal profiles. If you put the URL of a personal profile in the settings, when users click the icon they’ll only see a blank white box.
If you don’t know your Facebook Fan page URL you’ll have to go to your Facebook pages / business manager and find it before using this plugin. The example below shows my Fan Page URL in the settings.
6. Choose which pages the Messenger icon should appear on
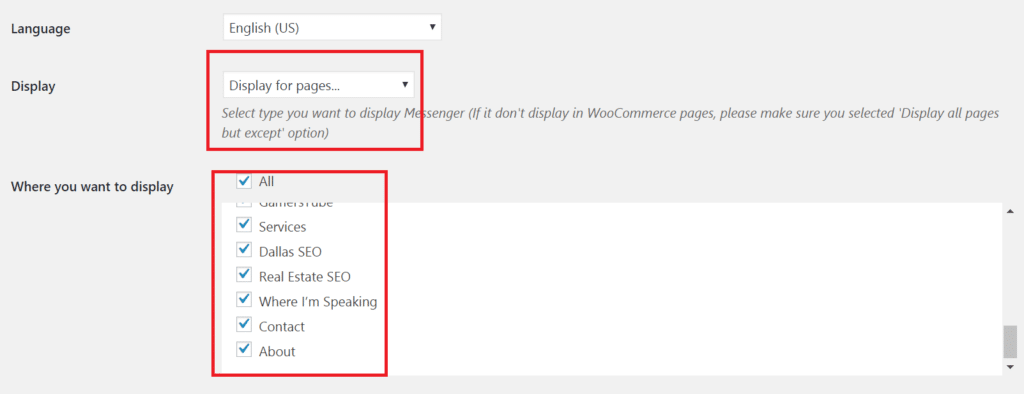
Finally you’ll want to select the pages where you’d like users to be able to contact you from Facebook Messenger. You can either select the pages you DON’T want the icon appearing on OR you can select only the pages you DO want the icon appearing on. If you want to exclude pages make sure the drop down under “Display” is set to “Display all pages but except” and if you want to include only selected pages make sure the drop down is set to “Display for pages…”.
7. Test your Installation
After saving your settings you should be able to see the icon on the pages you’ve opted for it to appear on, even when logged in as an Admin. Simply go to one of the pages and see if the icon appears in the location you’ve selected (default is right-hand side centered). If you’re logged into Facebook with the same browser send yourself a test message and then view it in your Facebook app (or Facebook Pages app) to see if it appears.
8. Other Options in Settings
There are a few other options included in the settings area which you can use to optimize your installation and it’s appearance.
- Custom Text for Button – In WooCommerce this plugin ads a button to the “Product Details” page allowing users to immediately connect with a customer rep via Facebook. Changing this text will change the text that appears on that button.
- Display Header Cover – This tells the plugin how to display the cover image from your Facebook page. You can choose to hide it or show it large or small.
- Messenger Icon Position – This setting decides where the icon will appear on the page. Currently you can only decide left or right.
- Icon type – Here you can select the default icon (icon) or select an image (image). You’ll need to specify the URL location of the image or other icon if you wish to use one.
- Main Color – here you set the color that highlights behind the messenger icon. You can use the color picker or use the button to reset back to the default blue Facebook color.
- Open Messenger App button – This decides if clicking (or tapping) the icon will open the Messenger up in the users smartphone app if using a smartphone.
- Custom text for open Messenger app button – This shows custom text inside of the Messenger app once the user has tapped and opened it.
- Language – Select the appropriate language for you.
Benefits
Using this on contact pages or pages where Facebook users might be reading could be very useful. For example if you run a Facebook ad to a page you might try using this plugin on that page to help lift conversions and sales.
Drawbacks
While this plugin is well-built and supported, it is fairly lightweight missing some options you might hope for in a more robust plugin, such as:
- The plugin doesn’t work on your home page, nor can you select the home page for it.
- The plugin adds a button to WooCommerce product detail pages, but you can’t select that option for any other page or page type.
- There is no way to get this to work on specific blog posts.
- You can’t select any position aside from right or left meaning in some cases the icon might cover up content or CTA buttons.
- You can’t define device type (i.e. desktop vs mobile) for the icon to appear/not appear on.
- You can’t define connection type (i.e. fiber, broadband, dialup, etc..) for the icon to appear/not appear on.
- You can’t tell the icon to appear after a user browses X number of pages.
- You can’t tell the icon to disappear after X number of times it has appeared for a user.
- You can’t respond with any custom content after a message is sent via this plugin.
- There is currently no way to A/B test this plugin
- It is likely that the plugin would add to page-load times on the select pages.